July 18, 2013
Rack Attack Team
Today at Rack Attack we thought we'd run you through the process of a hitch installation. The vehicle is a 2005 Honda CRV, which has a pretty easy hitch to install. Let's see what's involved...
Step #1: Move the muffler out of the way.
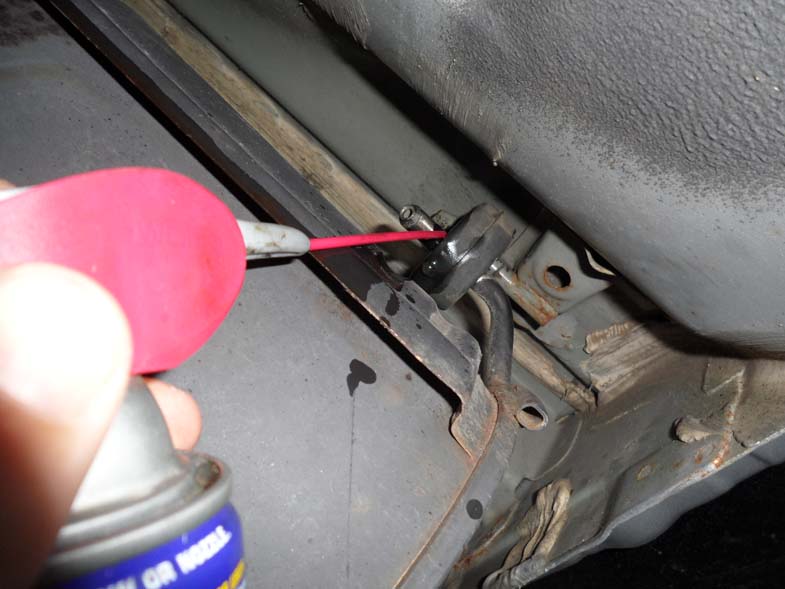
In order to move the muffler out of the way we need to grease up the exhaust hangers so that we can slide them off. The best thing for this job is good old WD40. Getting the hangers themselves just covered with lubricant makes this an easy part of the process. Getting them back on again, now that's a pain... but we'll get to that later.
Step #2: Get your bolts in place.
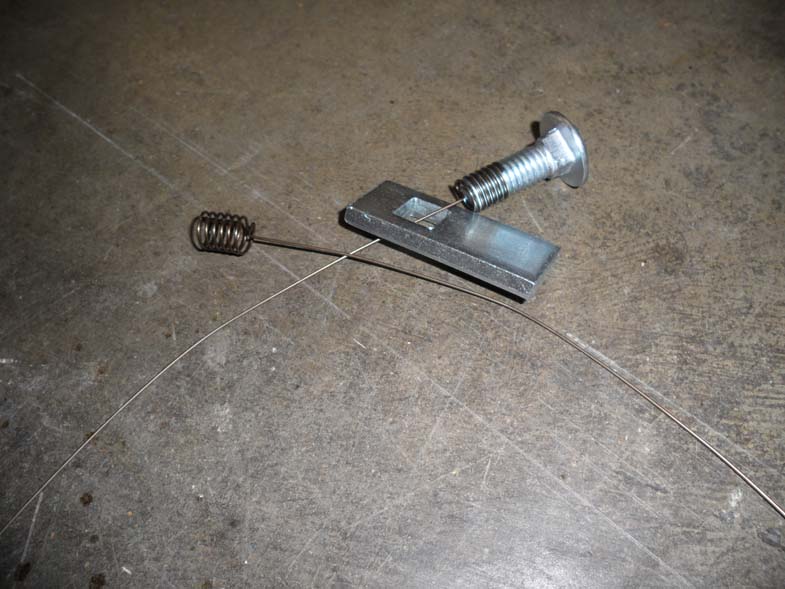
The tools for the fishing trip.
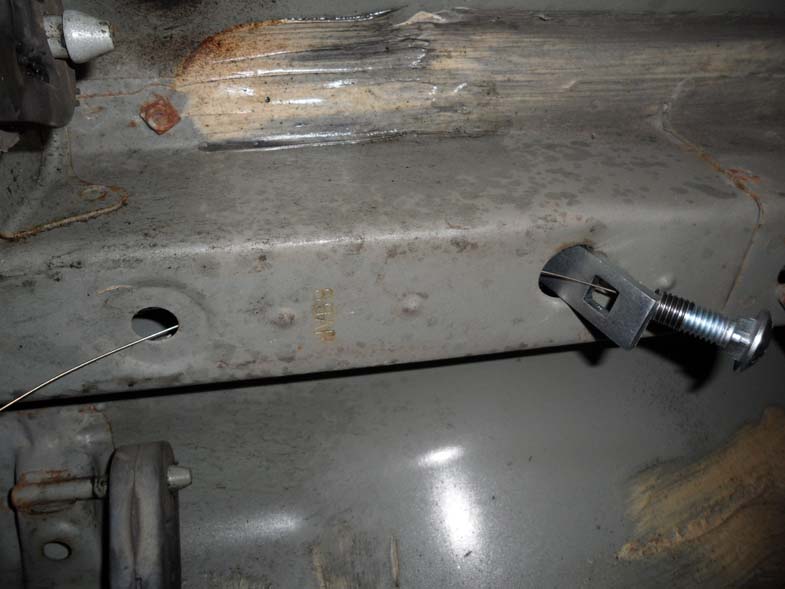
Fishing the bolts through.
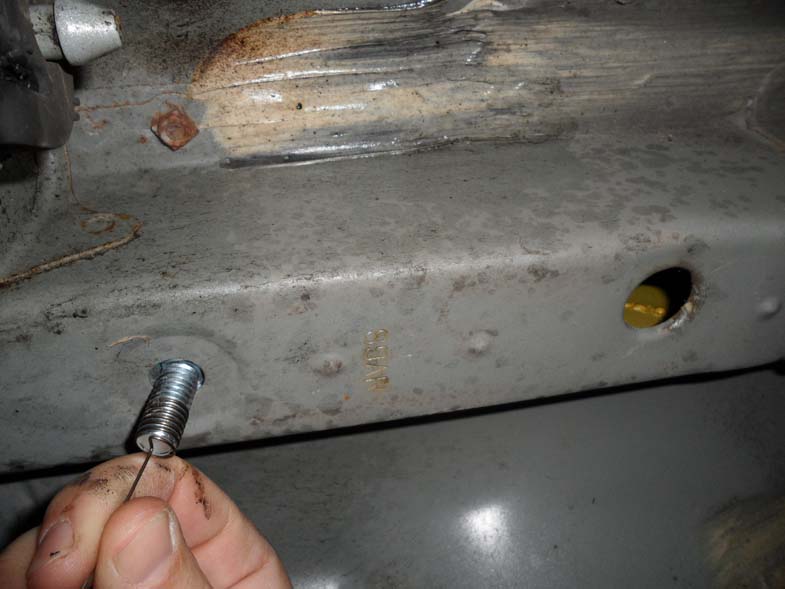
Mission accomplished!
Getting the bolts in place sometimes requires fishing them through the frame using a "fishwire" (provided by the hitch manufacturer.) This is not a fun process. Making sure you don't pull too hard, getting the bolt and washer plate to line up with the hole (or feed through the frame) is not always the easiest thing in the world; and sometimes it's extraordinarily frustrating. In this case we got off pretty easy. These bolts were pretty easy to line up and there are not any weird corners to turn. What's next?
Step #3: Attach the bolts to the hitch... or is it, the hitch to the bolts? I never remember...
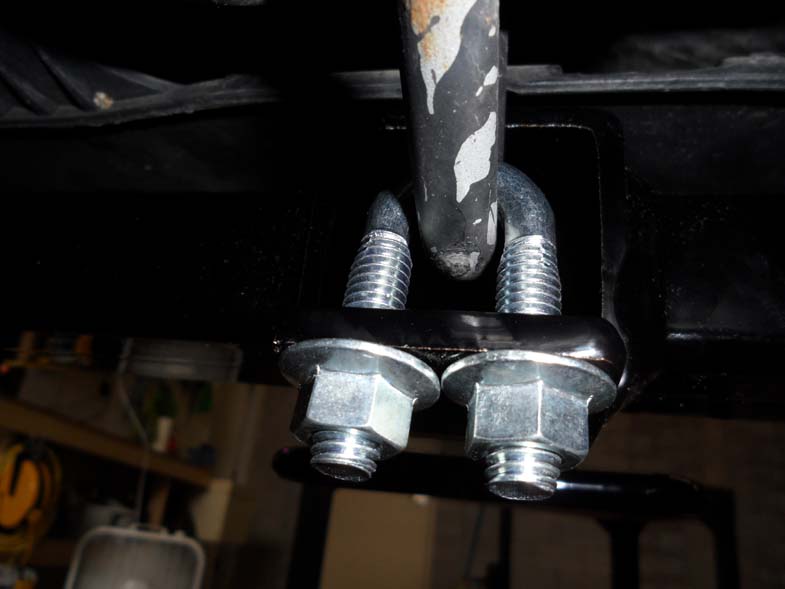
'U' bolts are commonly part of hitch hardware.
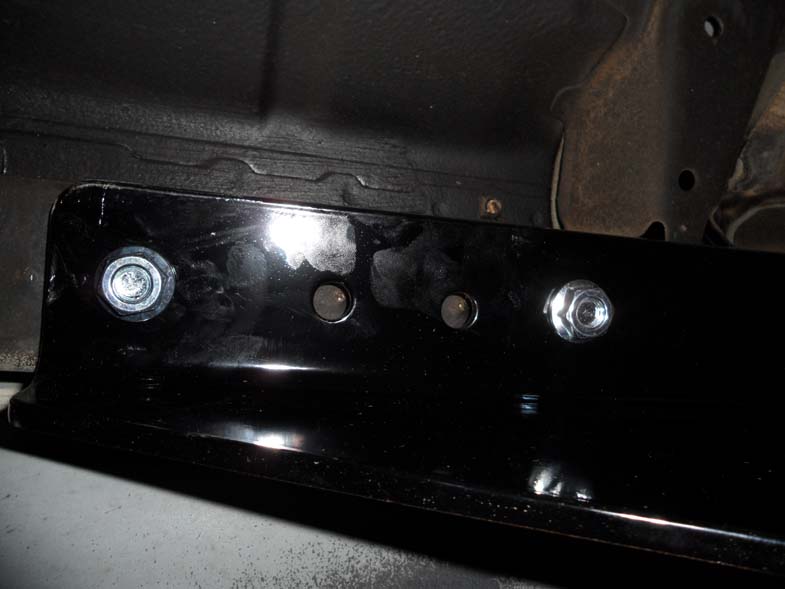
Two bolts on the driver's side.
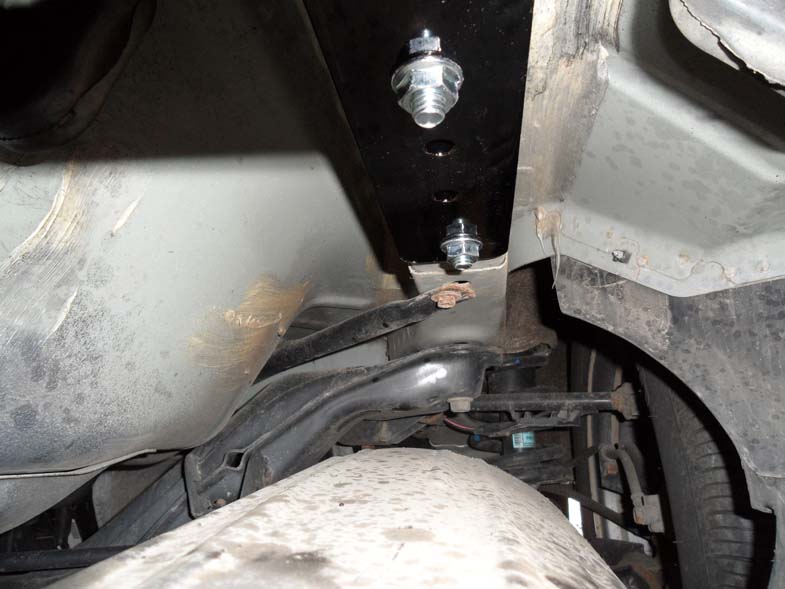
And two on the passenger side above the muffler.
This step is all about balance and coordination, especially if you're doing it by yourself! Getting the bolt holes to line up with the bolts isn't too much of a problem, but because the Honda CRV frame doesn't have weld nuts in it the bolts we put in are just sitting lose in the frame. The only problem this poses is, if you're not careful, you can knock the bolts up into the frame thus instantly ruining your day. Getting those bolts out again can take hours even with all of the necessary tools! Fortunately this wasn't the case with today's install, so we can move on to the next step.
Step #4: Re-attach the muffler to the exhaust hangers.
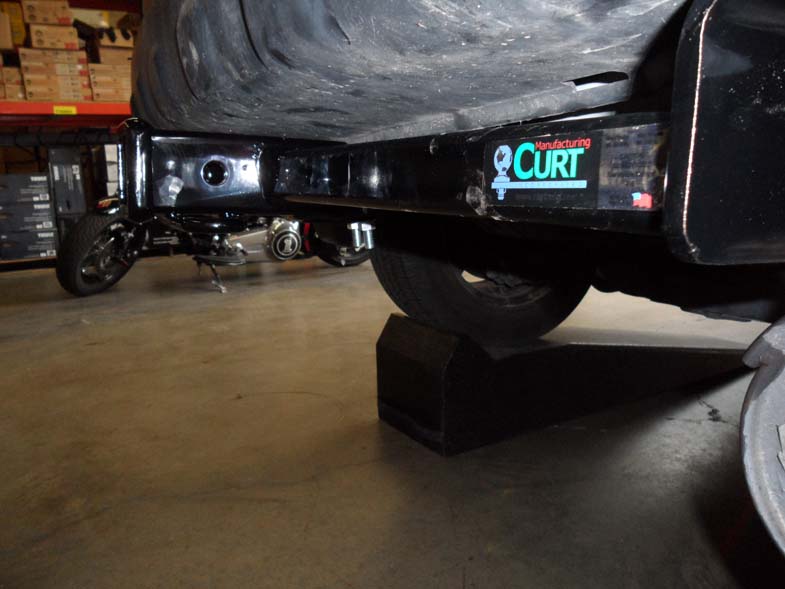
Remember those exhaust hangers mentioned in step one? Well, they're back, and this time they're not taking any guff! Once you've removed these things a few dozen times they get easier to pop off, but they're never easy to get back on again. After struggling with it for a while they seem to just jump right back on and then you're done!
Step # 5: Enjoy your hitch!
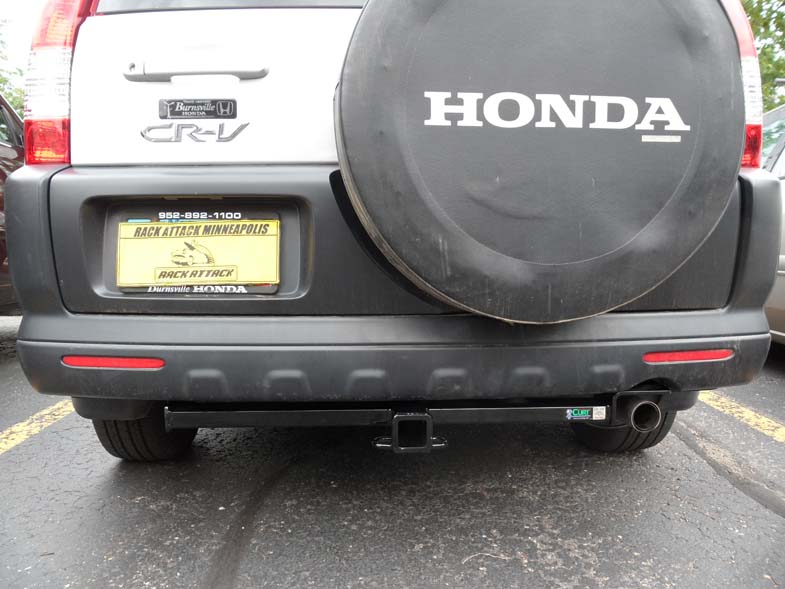
Wait a second, there is no step number five! You just get yourself outside and enjoy this beautiful weather. Don't you know it's summer time and you need to enjoy every minute of sunshine and warm weather you can absorb?! Well, get yourself out there and start enjoying!!
